
Modified and updated on 6/1/2026
Home Build and Designs completed a fully permitted ground-up extension at this Grand Prairie, Texas (ZIP 75052) single-family home.
The addition delivered a new living room, a bedroom with a walk-in closet, and a master bathroom — paired with a new concrete patio and a roof-line-flush patio cover off the back of the house.
Every photo below is from this project.
Project at a glance:
- Location: Grand Prairie, TX 75052
- Scope: ADU + Patio Cover
- Added Rooms: Living · Bedroom · Walk-in Closet · Master Bath
- Outdoor: New concrete · Flush cover
Key Facts of this Construction Project
- Contractor: Home Build and Designs, a Dallas–Fort Worth design-build remodeler.
- Addition scope: Living room, bedroom with walk-in closet, master bathroom.
- Outdoor scope: New concrete patio surface plus a patio cover flush with the existing home.
- Structural notes: New engineered slab, full framing, roof tied into the existing roofline, matching brick veneer.
- Envelope: ZIP System sheathing, closed-cell spray foam insulation, matching architectural shingles.
- Master bath: CertainTeed GlasRoc waterproofed shower system, tile-ready.
- Permitting: Completed under City of Grand Prairie residential addition permits.
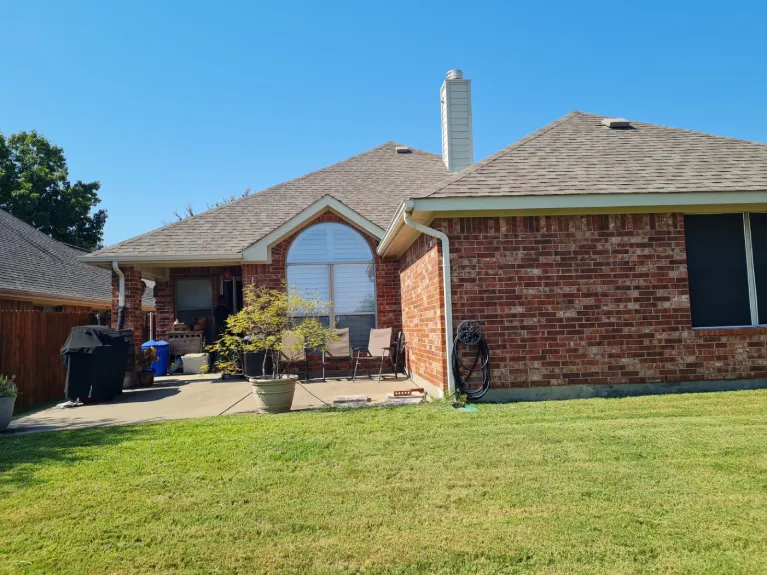
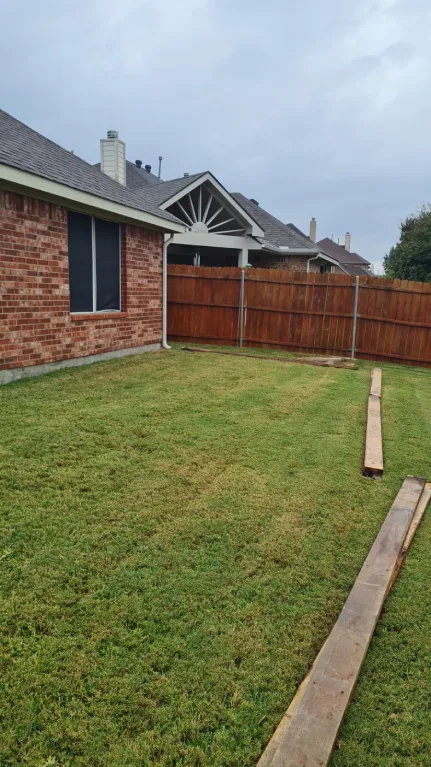
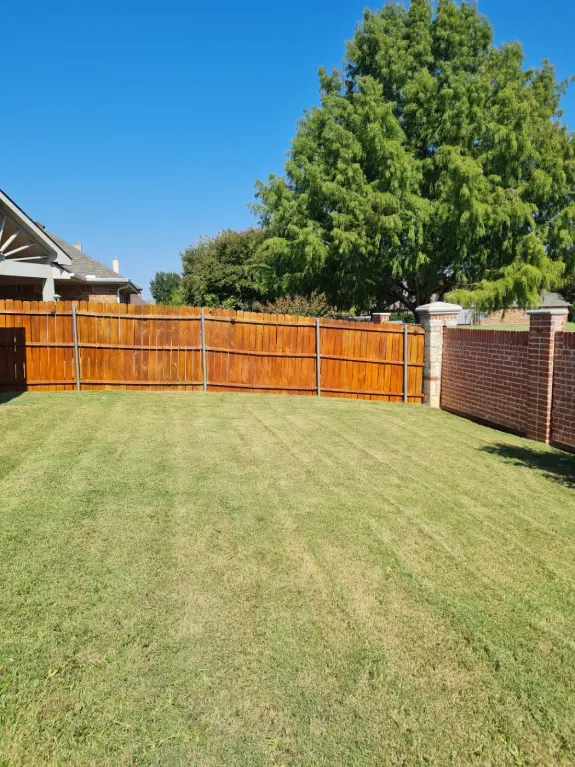
01 · Before — an open yard, a tired patio
The homeowners came to us with a classic mid-2000s Dallas County brick home: a great floor plan, mature shade trees, and a generous side yard begging to be put to use.
The back of the house had an undersized concrete pad, the arched feature window overlooked nothing in particular, and the family was running out of room.
The goal: add square footage without making it look like an addition.
02 · During — foundation to finish, in order
A good addition isn’t a project — it’s a sequence. Site layout, foundation, plumbing rough-in, framing, roof tie-in, dry-in, envelope, MEP, insulation, drywall, and finish.
Skip a step and the whole stack suffers. Here’s how the Grand Prairie build went, in the order it happened on-site.
Step 01 — Layout & site prep
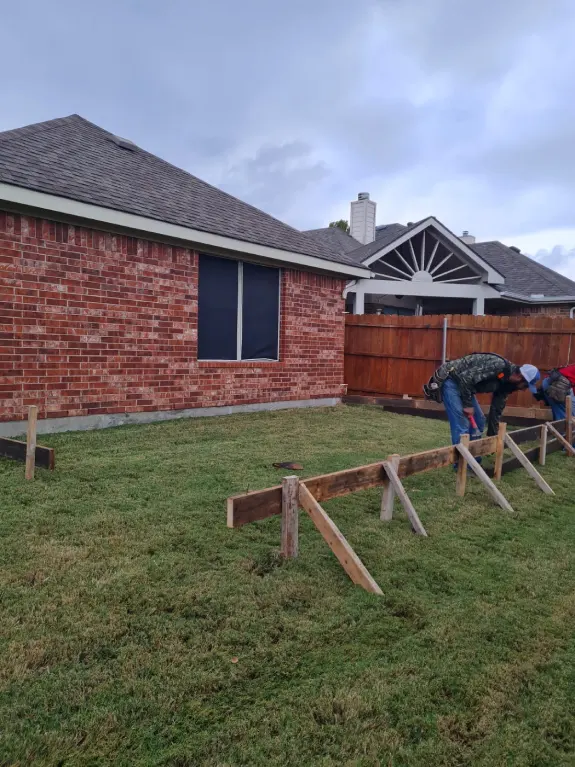
Batter boards and string lines establish the addition’s exact footprint, setbacks, and finished floor elevation before a single shovel of earth gets moved.
Step 02 — Plumbing rough-in
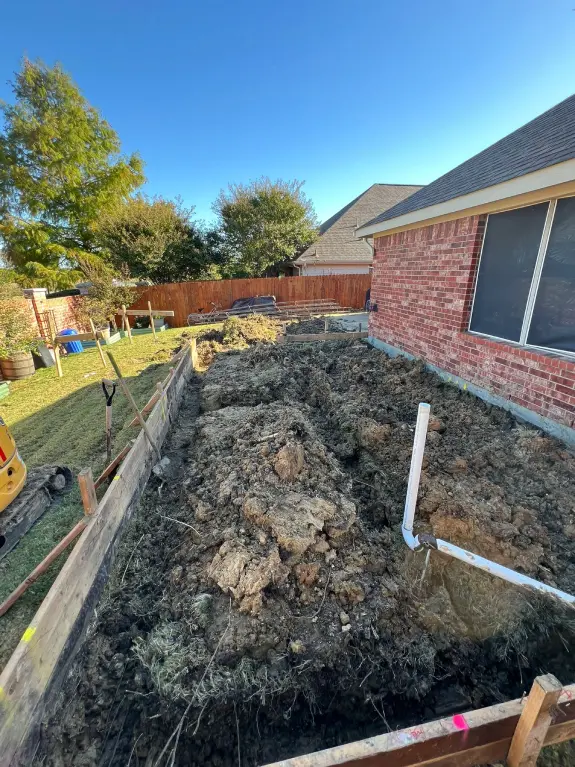
Drain and supply lines routed for the master bathroom — every fixture located before concrete locks them in.
Step 03 — Concrete prep
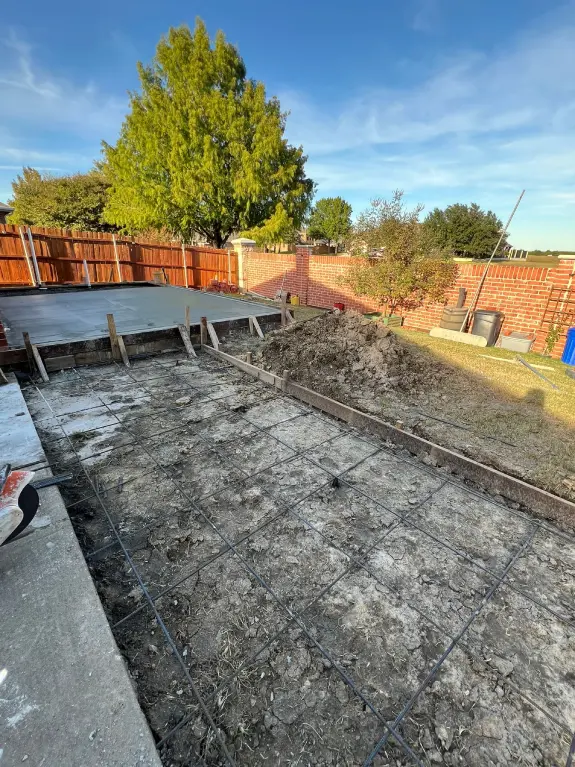
Patio formwork built tight to the house, with plumbing supplies staged for the addition slab pour.
Step 04 — Slab & rebar
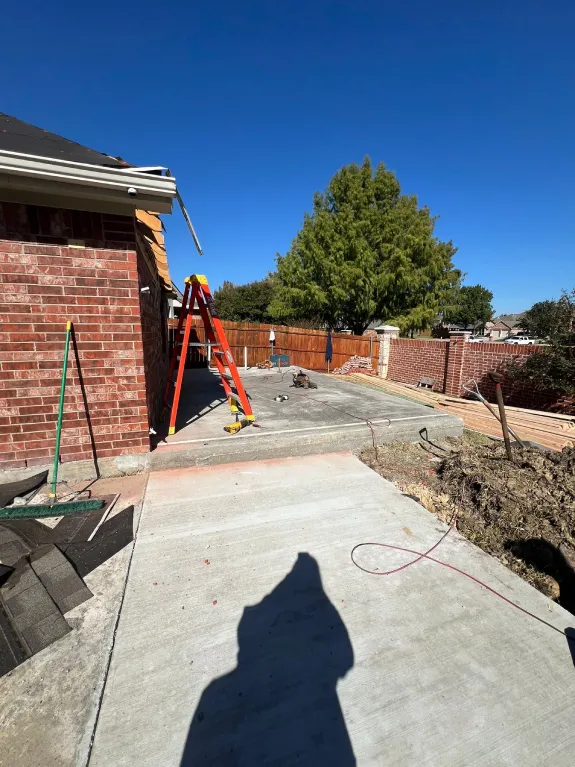
Engineered rebar grid in place for the ADU slab.
The patio slab is already finished — visible in the background.
Step 05 — Concrete poured
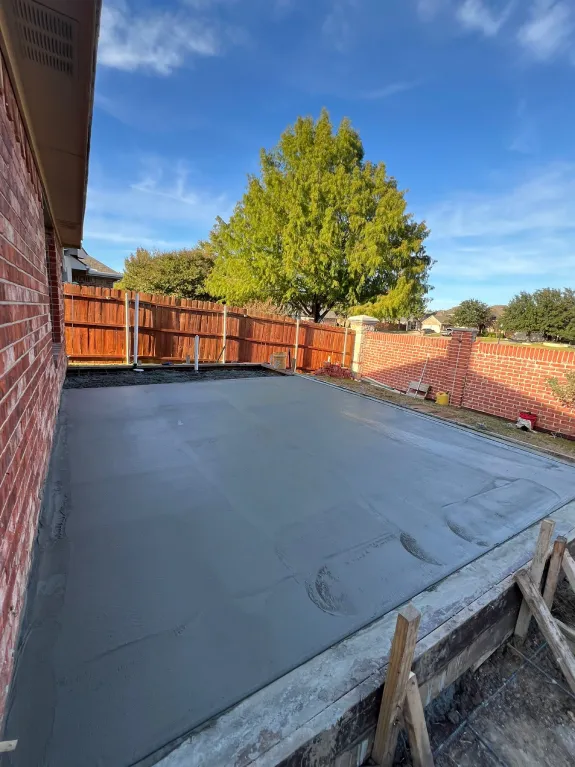
The new patio concrete, freshly troweled.
This becomes the floor under the new flush patio cover.
Step 06 — Framing begins
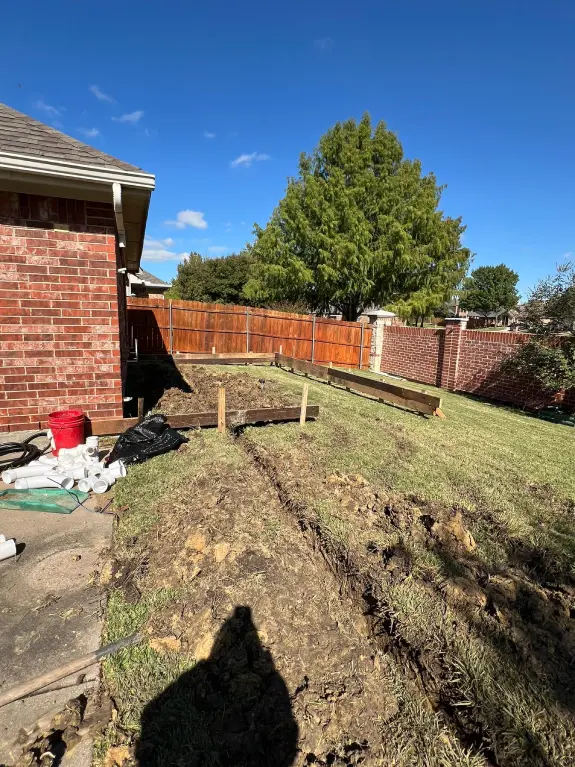
Bottom plates locked in.
The first wall is up and braced — the addition starts taking shape.
Step 07 — Walls go vertical
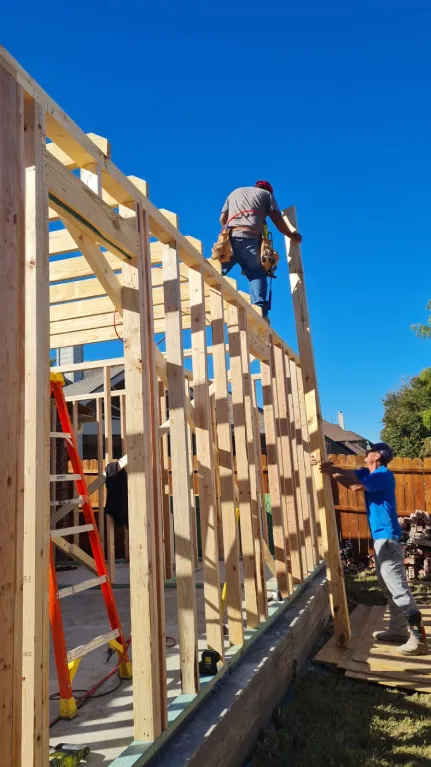
Wall framing raised by hand, plumbed, and braced.
Step 08 — Full framing complete
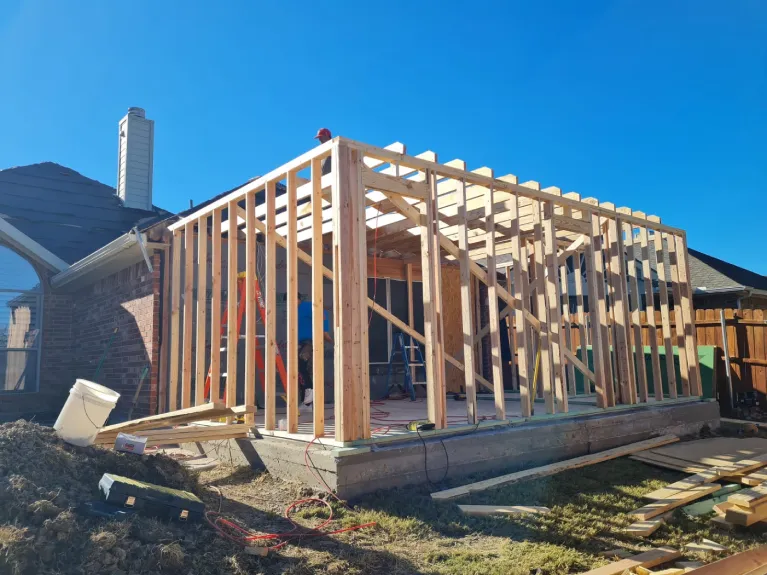
All four walls of the addition framed, ceiling joists set, and the new structure was tied into the existing house.
Roof framing comes next.
Step 09 — Roof tie-in
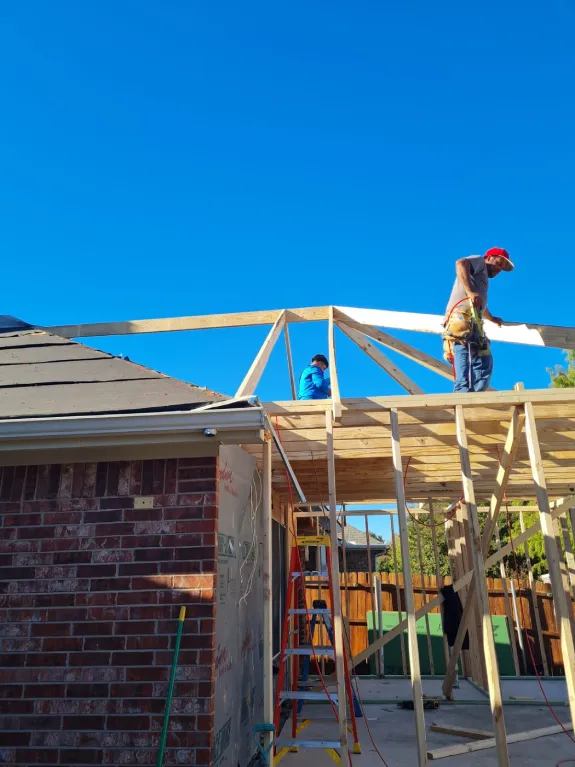
The roof tie-in is what makes an addition disappear — done right, you can’t tell where original ends and new begins.
Step 10 — Matching brick delivered
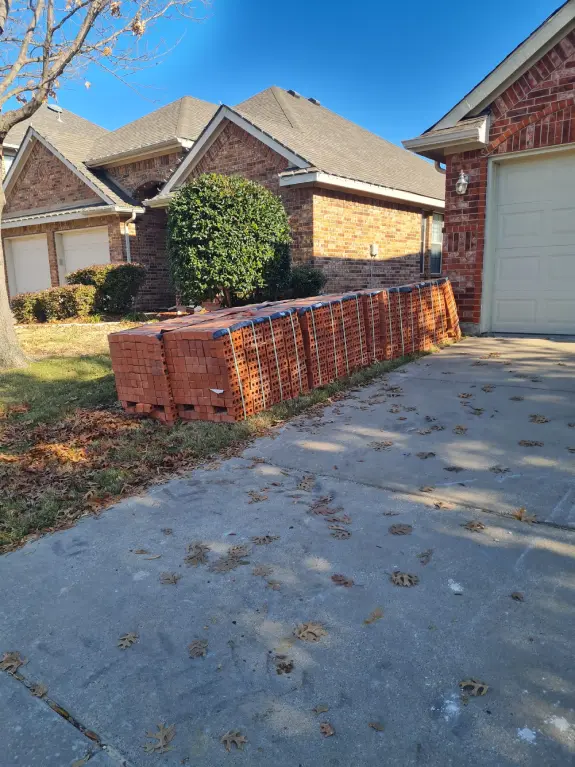
Brick sourced and matched to the existing veneer.
The wrong brick is the fastest way to make an addition look like an addition.
Step 11 — ZIP System dry-in
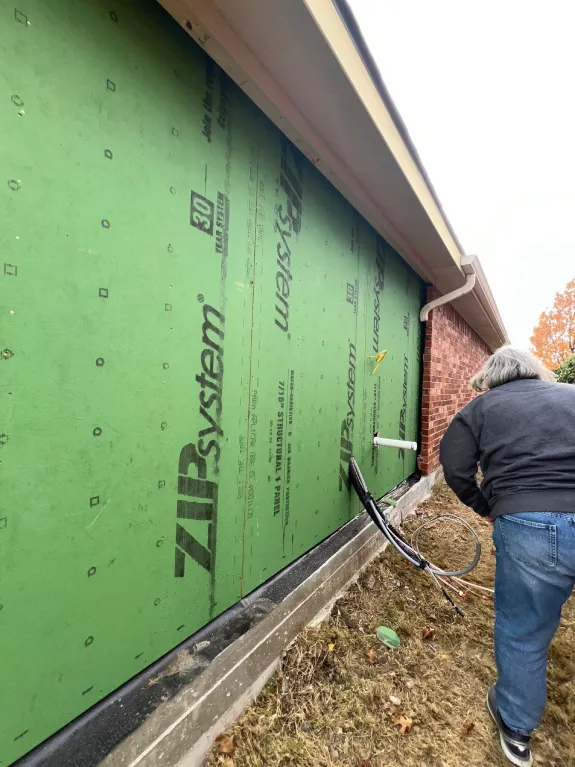
ZIP System structural sheathing provides the air- and water-resistive barrier in one product — taped seams and all.
Step 12 — Side elevation, fully dried in
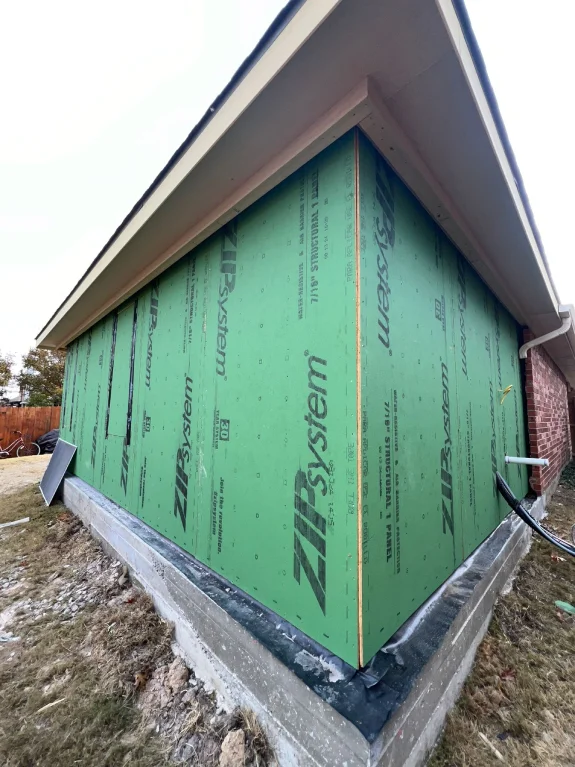
The addition fully sheathed and dried in.
The transition to the existing brick is mapped, and brick masons are ready.
Step 13 — Roof shingled to match
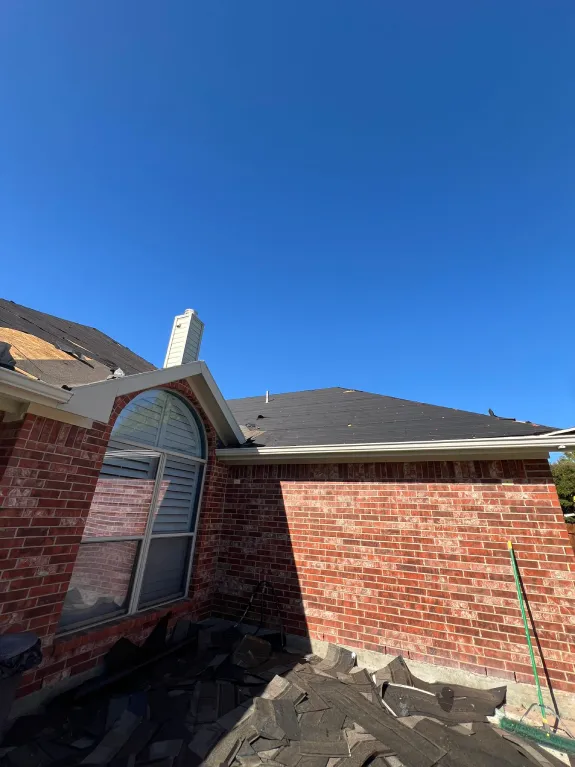
Architectural shingles installed, color-matched to the existing roof.
The arched-window section reads continuously from the street.
Step 14 — Patio cover framed flush
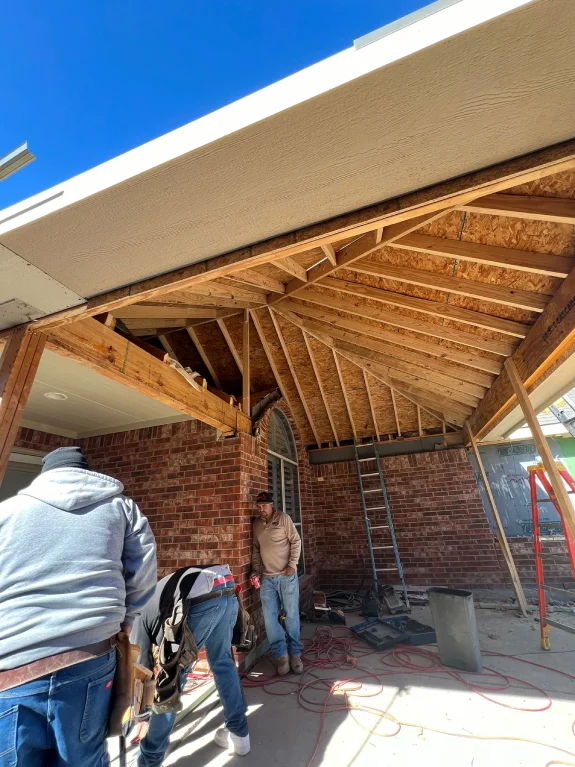
The patio cover rafters tie directly into the existing fascia and roof structure — flush, not bolt-on.
From the yard, the cover reads like it was always there.
Step 15 — Closed-cell spray foam
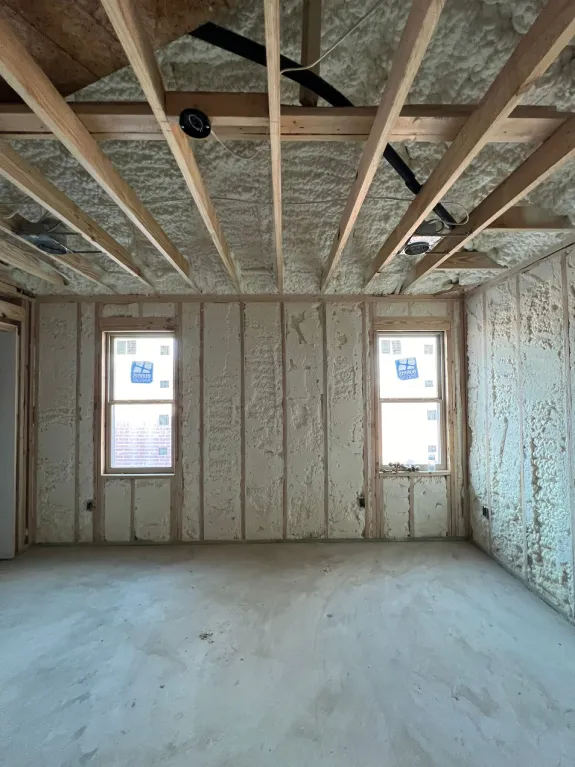
High-performance closed-cell spray foam in walls and roof cavity.
In Texas heat, the envelope is everything.
Step 16 — Master bath waterproofing
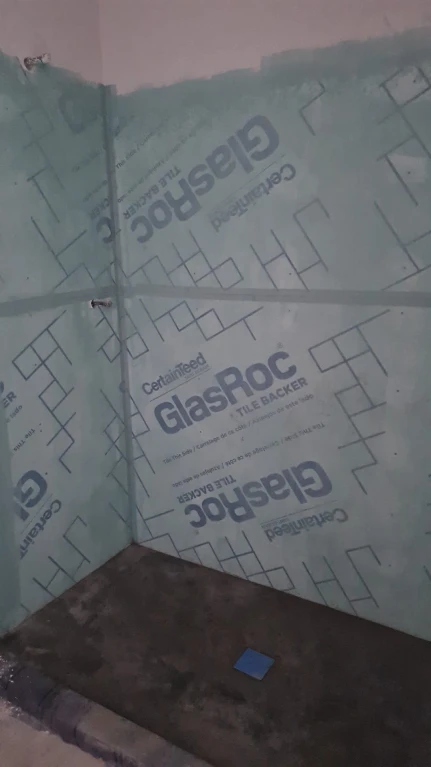
CertainTeed GlasRoc backer with waterproofed seams on the master shower — the right substrate behind every tile, and a standard on every master bathroom remodel we build.
Step 17 — Interior takes shape
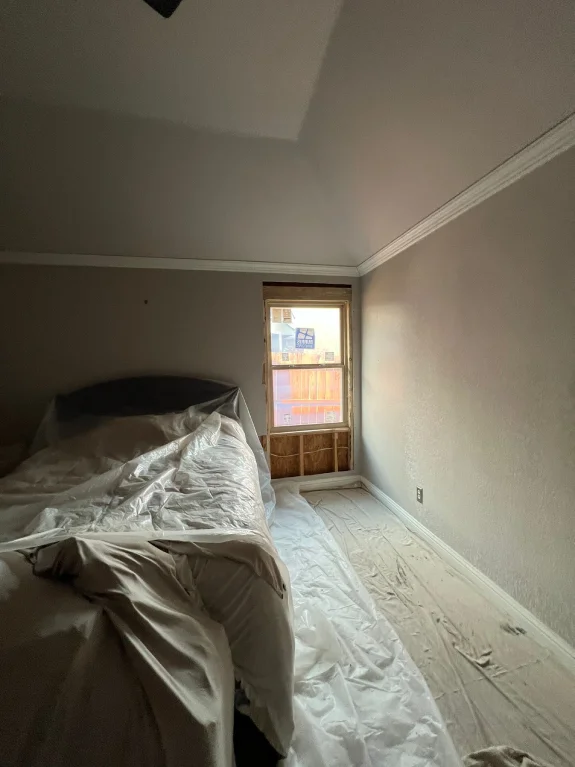
Inside the new bedroom: drywall up, crown molding installed, a new window letting Texas light into a room that didn’t exist 90 days earlier.
03 · After — a seamless connection, designed to live in
The finished addition connects to the original home through a soft arched hallway — the same arch motif as the existing feature window, carried through to the new wing.
Below is the connecting hallway and the design intent renderings for the master bedroom: warm gray walls, twin windows, a double-barn-door walk-in closet, and a master bath tucked behind the bedroom.
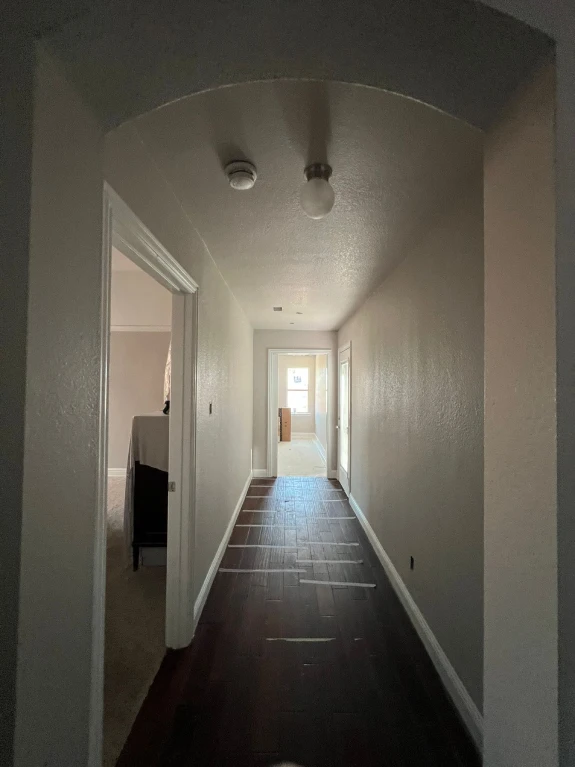
The connector hallway, finished — Arched entries on both sides match the original home’s arched feature window. Dark hardwood, flush-mount lighting, fresh paint throughout.
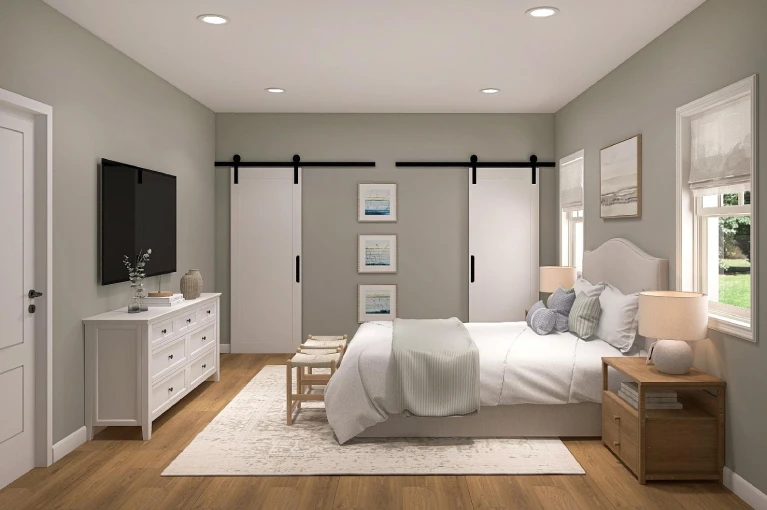
Master bedroom · design intent — Twin windows flanking the bed, soft gray walls, and a single-track barn door leading to the walk-in closet.
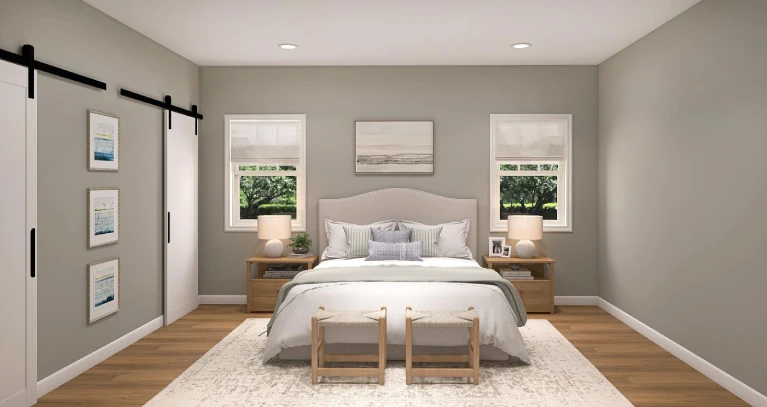
Master bedroom · the other wall — Double barn-door walk-in closet, TV wall over a white dresser, and a doorway to the master bath on the far left.
Project Specs
Built for Grand Prairie, the way Grand Prairie builds.
Grand Prairie sits in Dallas County between Arlington and downtown Dallas, with housing stock that runs from 1990s production builds in 75052 to newer construction in 75054.
Most additions in this part of the metroplex involve matching a 20-to-30-year-old brick veneer, working around clay-heavy soils that demand engineered slabs, and tying roof framing into a home where the existing trusses weren’t designed with an addition in mind.
Every residential addition in Grand Prairie — including covered patios — requires an approved permit from the City of Grand Prairie Building Inspections Division.
Home Build and Designs handles permitting, engineering, and inspections on every job we run, from a single room to full ADU construction in Grand Prairie.
Service Area: Grand Prairie · Arlington · Mansfield · Cedar Hill · Duncanville · Irving · Dallas · Fort Worth · Mesquite · DeSoto · Midlothian · Burleson
Frequently Asked Questions
Planning an addition in Grand Prairie or the Dallas–Fort Worth metroplex?
We design, obtain a building permit (in compliance with zoning regulations), and build everything from accessory dwelling units and outdoor living spaces to full home remodels across Dallas–Fort Worth.
Free in-home consultations, transparent fixed-price quotes, and a single point of contact from foundation to final walk-through.
→ Call (682) 404-2108